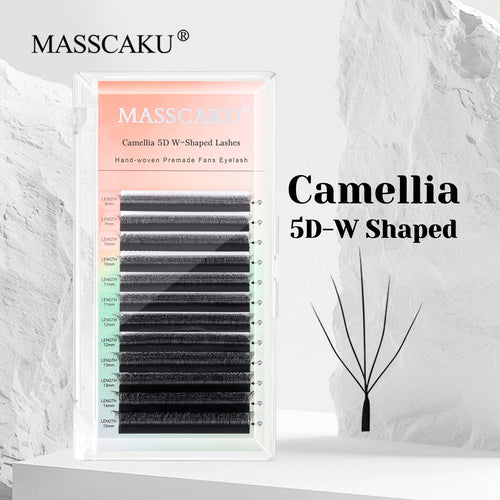
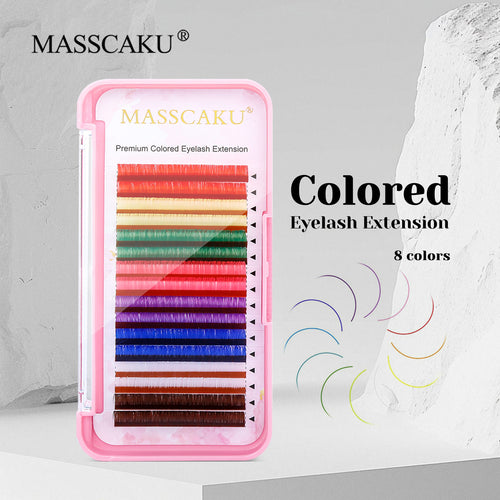
W-shaped (W-style pre-made fan lashes) extensions provide speed, consistency and an expert mascara-like finish for those seeking dense yet lightweight eyelashes sets. To keep your W-shaped extensions looking their best, it's important to avoid oil-based makeup and skincare products, as they can weaken the adhesive. Gently cleanse your lashes with a lash-safe cleanser to remove any debris or makeup residue. Additionally, refrain from rubbing your eyes or sleeping on your face to prevent damaging the extensions.This comprehensive guide covers each step in the process of mastering W-shaped extensions with confidence.
1. What Are W-Shaped Extensions and Why Would Someone Select Them?
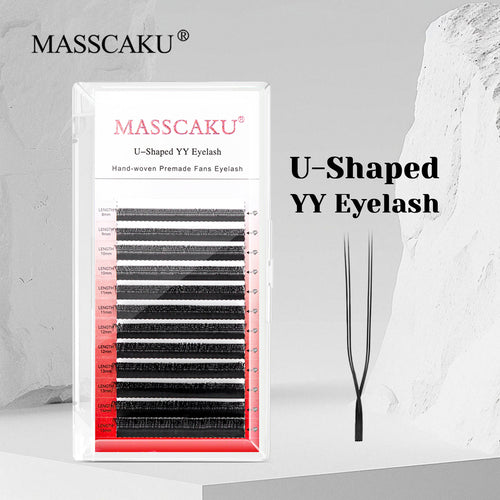
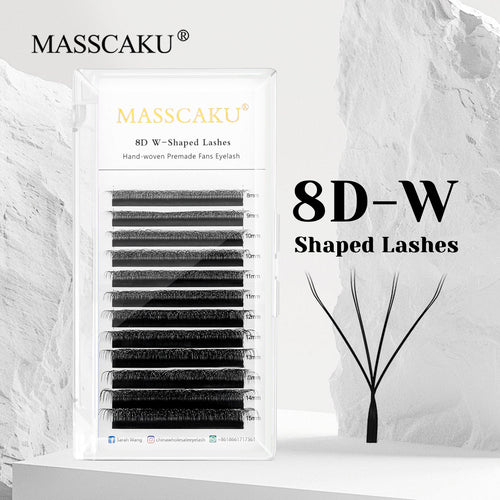
W-shaped extensions are prefabricated lash clusters resembling the letter "W." They combine three or more ultrafine fibers into a base, with multiple branches radiating outward from it.
Benefits of Fast Density Lashes: One fan = multiple lashes.
Wide bonding area: Our flat base wraps natural lashes to promote better retention.
Lightweight & safe: Diameter ranges from 0.05-0.07 mm; suitable even for weak lashes.
Style versatility: Ranging from natural lash-line effects to mascara-like fullness.
Ideal for clients who desire a fuller look in less time, without heavy mascara finishes or additional volume with less filling.
2. Tools and Materials Checklist
Lash Fibers: W-shaped (0.05/0.07 mm), C/CC/D curl pattern and lengths between 6-13 mm.
Adhesive: Curing time of 1-2 seconds. Works best at 20-24°C and 45-60% humidity.
Tweezers: Straight and curved isolating tweezers with a precision pickup tweezer for precision pickup of small parts.
Prep products: oil-free cleanser, protein remover and primer.
Eye pads & tape: gel pads, micropore tape, layering tape.
Workspace requirements include an eyelash stone/cup, adhesive ring, microbrushes and disposable spoolies for eyelash care, and a micro mister/fan.
Safety equipment includes sanitizers, gloves, masks and a disinfecting solution.
Environment: thermometer and hygrometer.
3. Client Consultation and Style Design
Check for allergies, eye conditions or surgery as part of a health screening exam.
Lifestyle needs: Need an everyday office look, special event attire or a bridal set?
Analysing natural eyelash characteristics such as thickness, density and growth stage.
Rule of Thumb: Length = Natural Lash + 2mm and Weight within a safe tolerance range.
Options for Mapping Style Options in Kittens include:
Kitty: Shorter on the inside and longer outside (7-12mm).
Doll: Peak in center (8-12 mm).
Squirrel: Progressive peak before outer corner.
Options available in hybrid form: W-fans mixed with classic models or narrow fans added refined dimensions.
4. Hygiene and Station Setup
Disinfect all tools and surfaces before use.
Replace the bedcover and pads with disposable sheets.
Clean hands, wear gloves, and wear a mask.
Prepare adhesive: shake for 30-60 s and refresh every 10-20 min.
5. Lash Mapping Technique | Set Eye Pads directly
Divide it into inner, middle and outer thirds.
Assign lengths smoothly (no sudden jumps >2 mm).
Corners may benefit from a shorter length for increased comfort and balance.
Step 1 | Prep and Cleanse in Advance C, D, and E Lashes Cleaners can help. Step Three | Lashes Set before Cleansing B, C and E Cleaners are recommended as these contain oils to remove makeup or oils that could build up during the application process.
Apply primer to the roots (about one third of natural eyelash length).
Step 2 | Apply pads and tape
Position under-eye pads between 0.5-1 mm from your waterline.
Use tape to lift the eyelids or isolate layers as necessary.
Step 3 | Isolate Natural Loss Foliage
Locate and isolate one lash easily--no adhesives allowed!
Step 4 | Grab W-Fan Grip Fan at Base 2-3 mm From Root.
Avoid squeezing and spread out the branches as much as possible.
Step 5 | Submerge Base in Adhesive Cutter Base should be submerged 1-2 mm deep in glue for maximum results.
Make sure a small bead forms without excess.
Step 6 | Attach Natural Lash Extensions
Place a fan parallel with or with an upward tilt (5-10deg).
Slide a fan base along natural lashes to create an attractive wrap effect.
Bond area should cover at least 1-2 mm of eyelash length.
Step 7 | Adjust Alignnement
To align, lightly press down on the root for 2-3 seconds in a forward or backward motion to change direction.
Step 8 | Construction Step by Step
Apply from the middle layer, to top and finally bottom layers.
Check symmetry in every section.
Step 9 | Corners Technique--interieur corners should feature shorter, lighter fans placed parallel to each other for maximum results.
Outer corners: When approaching outer corners, do not extend too far out; always maintain an elevated line.
Step 10 | Final Groom and Separation
Brush through and check for evenness.
Use tweezers to separate sticky parts.
Step 11 | Properly Dry the Surface Wash with Fan or Nano Mister
Gently unattach pads from the lashes before brushing through them with your eyelash brush.
Show the client from the front view how to use a mirror.
7. Timing and Efficiency at a Beginner Level
Starting out? 90 to 120 minutes will do.
Experienced techs: 60 to 90 minutes.
Tip to speed up: Work in layers; starting by filling out the middle first before expanding outward and filling corners.
Preplan and follow your sequence.
8. Retention and Troubleshooting Strategies
Poor retention: For best results, inspect humidity, glue freshness and bond length.
Twisted directions: isolate properly, adjust angle.
Stickies: Apply less glue, work faster.
Messy base: Maintain an approximate 0.5-1mm distance from skin.
9. Fill and Maintenance WEEKS/MONTHS For those with oily skin types, fill cycles should occur every 1-3 weeks (but shorter if using oil-control products).
Remove any overgrown or twisted fans.
Reapply according to the original map and adjust peak elevation as necessary.
10. Safe Removal for Lower Lashes C. Assure safe removal. Apply cream remover directly to base and wait five to ten minutes before cleaning off with warm soapy water.
Use a microbrush to unfurl the fan.
Remove all debris by cleansing and rinsing thoroughly.
11. Aftercare Instructions for Clients
Avoid water and steam for at least 6-8 hours.
Oil-based products should be avoided near the eyes.
Brush your eyelashes daily using a spoolie and cleanse with eyelash-safe foam for a thorough clean-up.
Return to filling regularly.
12. W-Fans for styling advantage
W + Classics: W for mid/outer corners and Classics for inner corners.
W + Narrow Fans: Used to increase layer density.
Marly mix curls: C/CC base with D touch to add lift.
13. Sample Lash Maps in Natural Curl Volume Format: 8-9-10-11-11-10 mm.
French Clean Line (CC Curl): 7-9-10-11-12-11 mm.
Kitten Look (D curl): 8-9-10-11-12-11 mm.
14. Risk ControlWipe away any excess glue with your hand before applying. Observe the length = +2mm rule when installing your lashes.
Tested for clients with sensitive skin conditions.
Maintain a distance of 0.5-1mm between the device and skin.
Sanitation protocols apply to each client.
15. Quality Control Checklist
Symmetry left and right. Clean lashline without clumps.
Direction is consistent and there are no sticky patches; consequently, clients experience no discomfort with this arrangement.
16. FAQs
Q: Are W-fans too heavy? A: No, these fans are designed with ultralight weight materials (0.05-0.07 mm) in mind to evenly disperse weight distribution.
Q: Why are my eyelashes twisting? A: Due to improper isolation or angle. Correct them within 2-3 seconds by isolating and realigning them again.
Q: Could the W-fans be used alone or for a full set? A: Absolutely; however, for maximum comfort use classics for weak or inner corner lashes as needed.
17. Practice tips
Repeat a single lash map three times to master placement.
Training with adhesive dip: aim for small beads without strings.
Directional drill: Place fans for 30 minutes focusing exclusively on angles.
Track retention at different humidity levels.
Conclusion
W-shaped extensions provide the optimal balance of density, speed and safety. By following six golden rules--clean isolation, proper dipping, parallel placement, root wrap direction control and sticky check--you will produce long-lasting flawless sets every time.
Make this guide your standard operating procedure (SOP) for lash artistry: practice regularly and gradually refine your techniques, and your work will go from acceptable to outstanding!